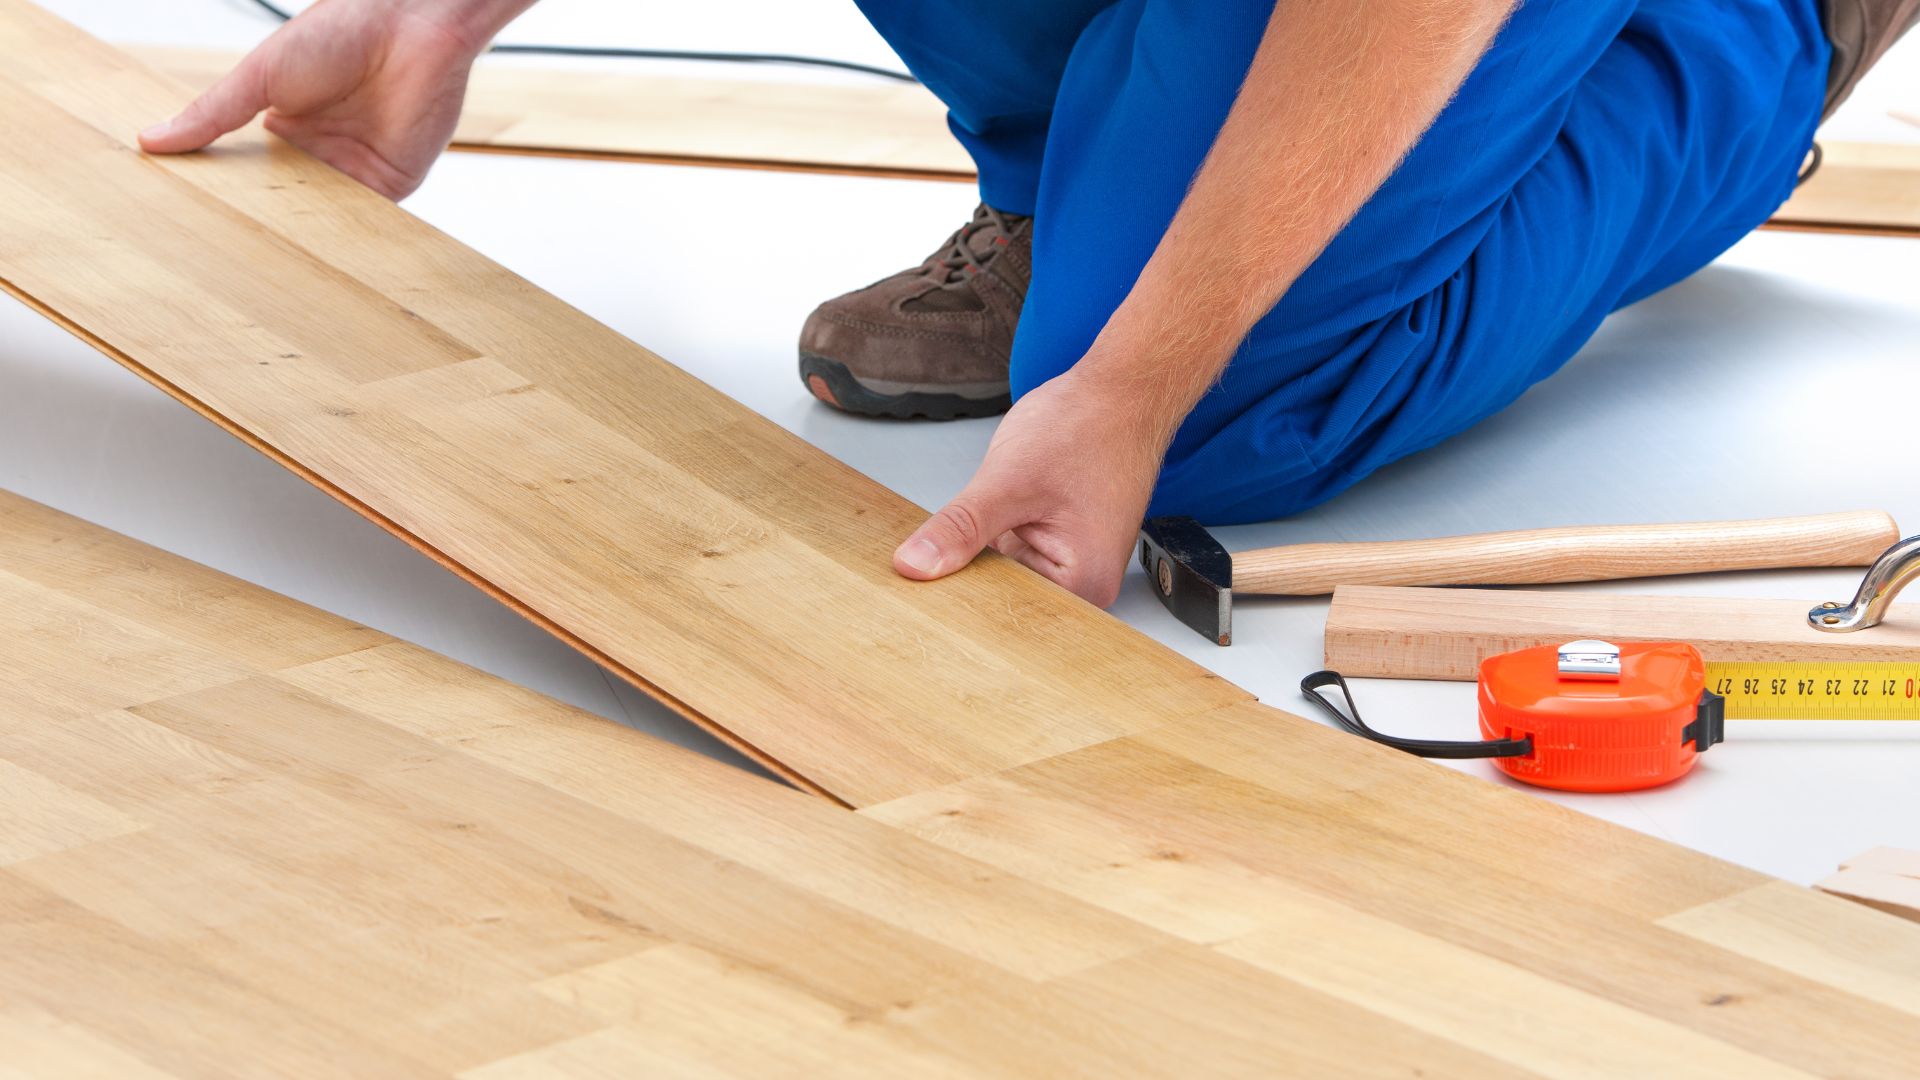
Installing a laminate floor can be a cost-effective and DIY-friendly way to refresh the look of your home. However, before you start, it’s important to understand the basics and prepare for the installation process.
- Measure Your Room and Purchase the Right Amount of Flooring: Measure the length and width of the room(s) where you plan to install the laminate flooring to determine the square footage. It’s important to purchase 10-15% extra laminate flooring to account for cuts and waste.
- Prepare the Subfloor: Laminate flooring should be installed over a clean, flat, and dry subfloor. Check the subfloor for level, flatness, and cleanliness. If the subfloor is not level, you may need to use self-leveling compound to create a smooth surface.
- Choose the Right Underlayment: A good quality underlayment is essential for a successful laminate flooring installation. Underlayment helps to absorb sound, provide insulation, and protect the laminate from moisture. Make sure to choose an underlayment that is specifically designed for laminate flooring.
- Gather the Tools and Materials You’ll Need: You will need a saw, measuring tape, level, hammer, tapping block, spacers, and a pull bar. Some laminate flooring installations may also require a stair nose, quarter-round molding, or transition pieces.
- Plan the Layout: Before you begin installing the laminate, plan the layout of the flooring. This will help you determine where to start and how to stagger the boards to ensure a uniform look.
- Start Installing the Laminate Flooring: Start by laying down the underlayment and following the manufacturer’s instructions for installation. Then, lay the first row of laminate boards along the starting wall, making sure to leave a gap of at least ¼ inch between the wall and the board. This gap is necessary to allow for expansion and contraction of the flooring.
- Secure the Laminate Flooring: After laying the first row, you will need to secure each board to the subfloor using the locking mechanism specified by the manufacturer. This may involve tapping the boards together with a tapping block and a hammer, or simply sliding the boards into place.
- Cut the Last Board to Size: Once you reach the end of the last row, you may need to cut the final board to size to fit into place. Use a saw to make the cut and then slide the board into place.
- Install the Molding: If necessary, install quarter-round molding or transition pieces to cover the expansion gap and provide a finished look.
- Clean and Maintain Your Laminate Flooring: Once the installation is complete, sweep or vacuum the floor regularly to keep it free of dirt and debris. Use a damp mop or cloth to clean up spills and stains, and avoid using wax or oil-based products on the floor.
Installing a laminate floor can be a rewarding DIY project that can transform the look of your home. By following these steps and taking the time to properly prepare, you can ensure a successful and long-lasting installation.


