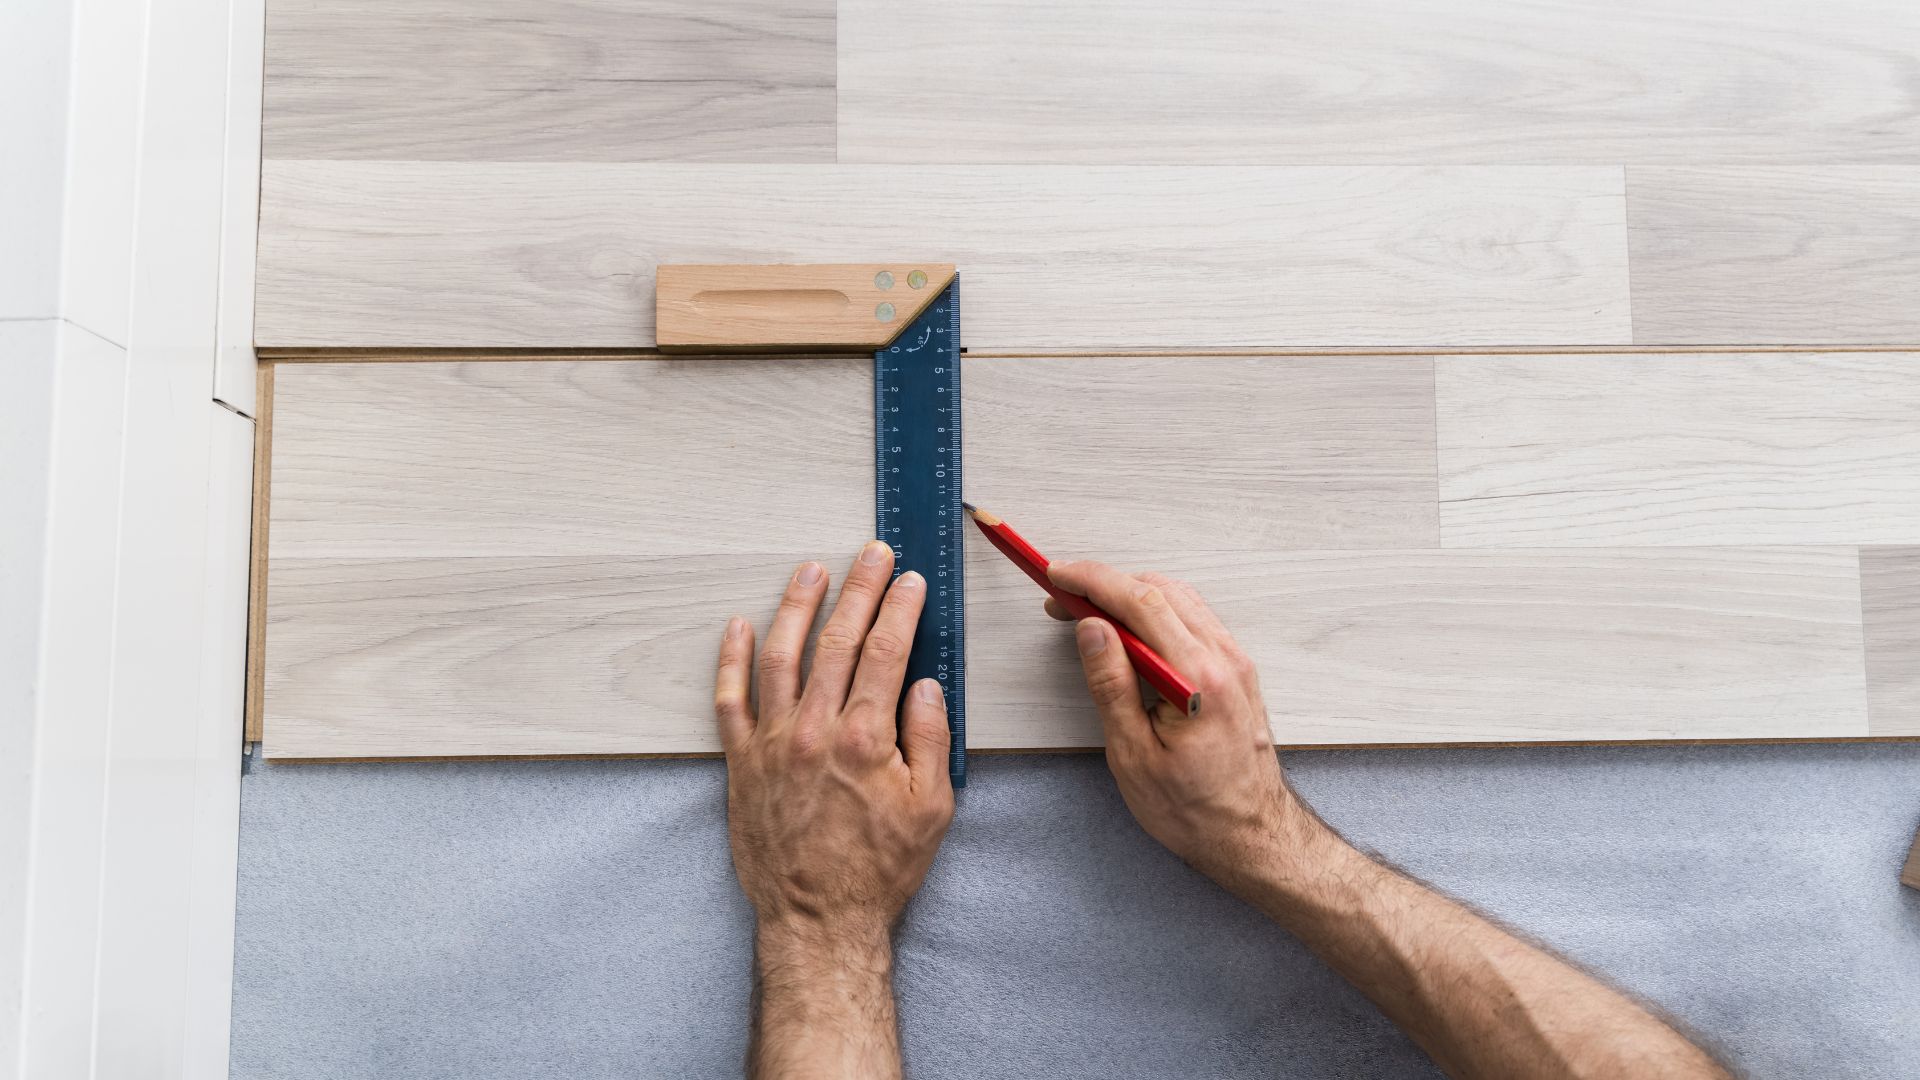
Laminate flooring is a popular choice for homeowners looking to update the look of their flooring without breaking the bank. This durable and low-maintenance flooring option is relatively easy to install, but there are a few things you should do before starting the installation process. This will ensure a smooth and successful installation and make sure that your laminate floor lasts for years to come. Here are the steps you should follow to prepare for laminate floor installation:
- Measure your space: The first step in preparing for laminate floor installation is to measure the area you’ll be covering. This will help you determine how much laminate flooring you will need to purchase. Be sure to measure the length and width of each room, and don’t forget to include closets and other areas that will require flooring.
- Remove existing flooring: If you already have an existing flooring, you will need to remove it before installing your new laminate flooring. This includes carpet, tile, hardwood, or any other type of flooring.
- Clean and level the subfloor: After removing your existing flooring, you will want to make sure your subfloor is clean, dry and level. If your subfloor is uneven, it can cause your laminate floor to bubble, warp or make noise over time.
- Check for moisture: Before installing your laminate flooring, it is important to check for moisture. Laminate flooring can absorb moisture and can cause warping or damage to the flooring if there is excessive moisture present. You can check for moisture by placing a plastic sheet over the subfloor for 24-48 hours and checking for any condensation or moisture buildup.
- Acclimate the laminate flooring: Before installing your laminate flooring, you should let it acclimate to the room temperature and humidity for a minimum of 48 hours. You must acclimate your laminate boards for 48 hours in the room where they will be installed, by opening the boxes and letting the laminate boards adjust to their surroundings. Installation should take place at room temperature of at least 65°F (15°C). A floor surface temperature of 59°F and an overall room temperature of 64°F must be ensured before, during, and three days after the installation.
- Install an underlayment: An underlayment is a thin layer of foam or plastic that is installed between the subfloor and the laminate flooring. This layer provides cushioning and helps to reduce noise. An underlayment can also help to protect your laminate flooring from moisture.
- Gather tools and supplies: Before beginning the installation process, you will need to gather all the necessary tools and supplies. This includes a saw, measuring tape, a hammer, a tapping block, a pull bar, spacers, and any other tools specific to your laminate flooring manufacturer.
In conclusion, laminate floor installation is a great option for homeowners looking for an affordable and durable flooring solution. By following these steps, you can ensure a successful installation and enjoy your new laminate floor for years to come. If you are unsure about any of the steps, it is always a good idea to consult a professional or consult the manufacturer’s instructions for more guidance.


